
Last updated September 19, 2026
Full 25-point door and opener safety check with every visit - springs, cables, rollers, tracks, and your LiftMaster or Chamberlain opener included
You get a price before we start. It does not change when the truck arrives.
Modern flush
LiftMaster openers
 Before
 After
After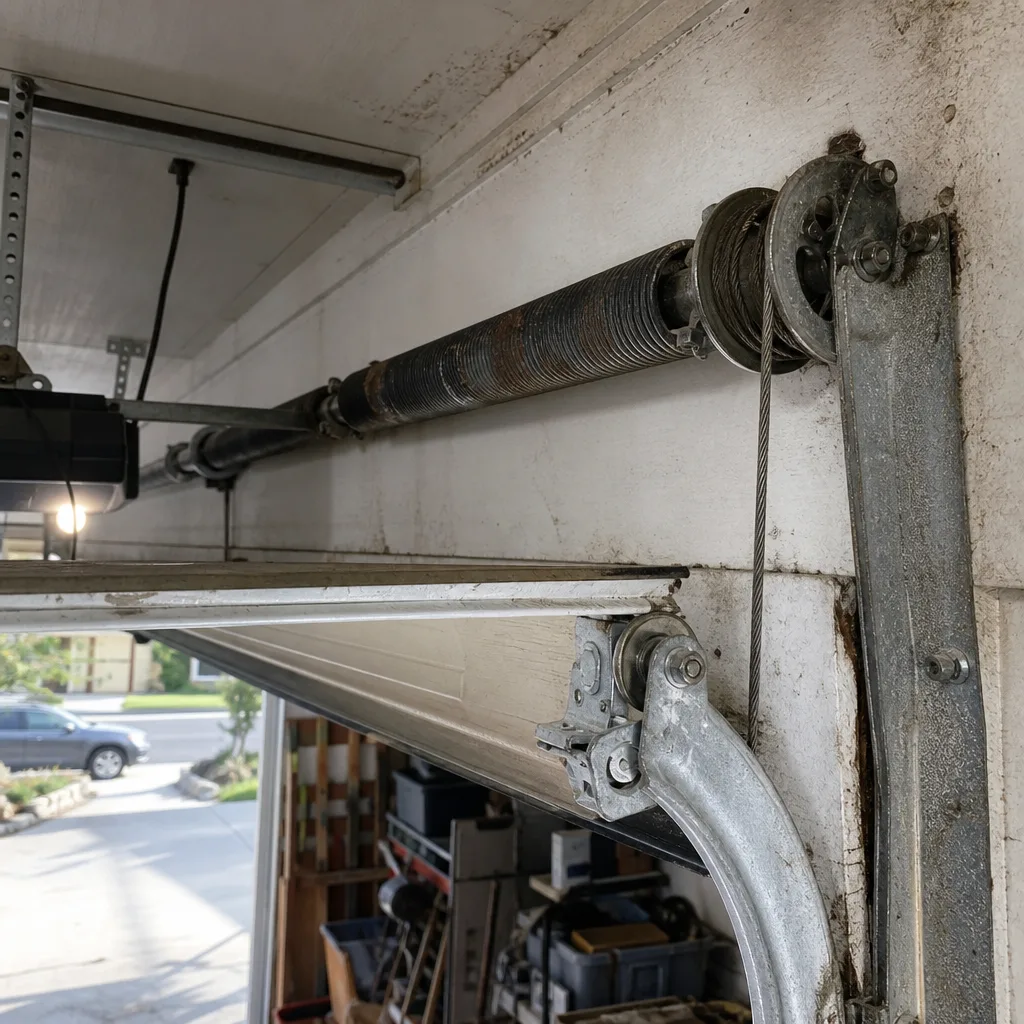 Before
 After
After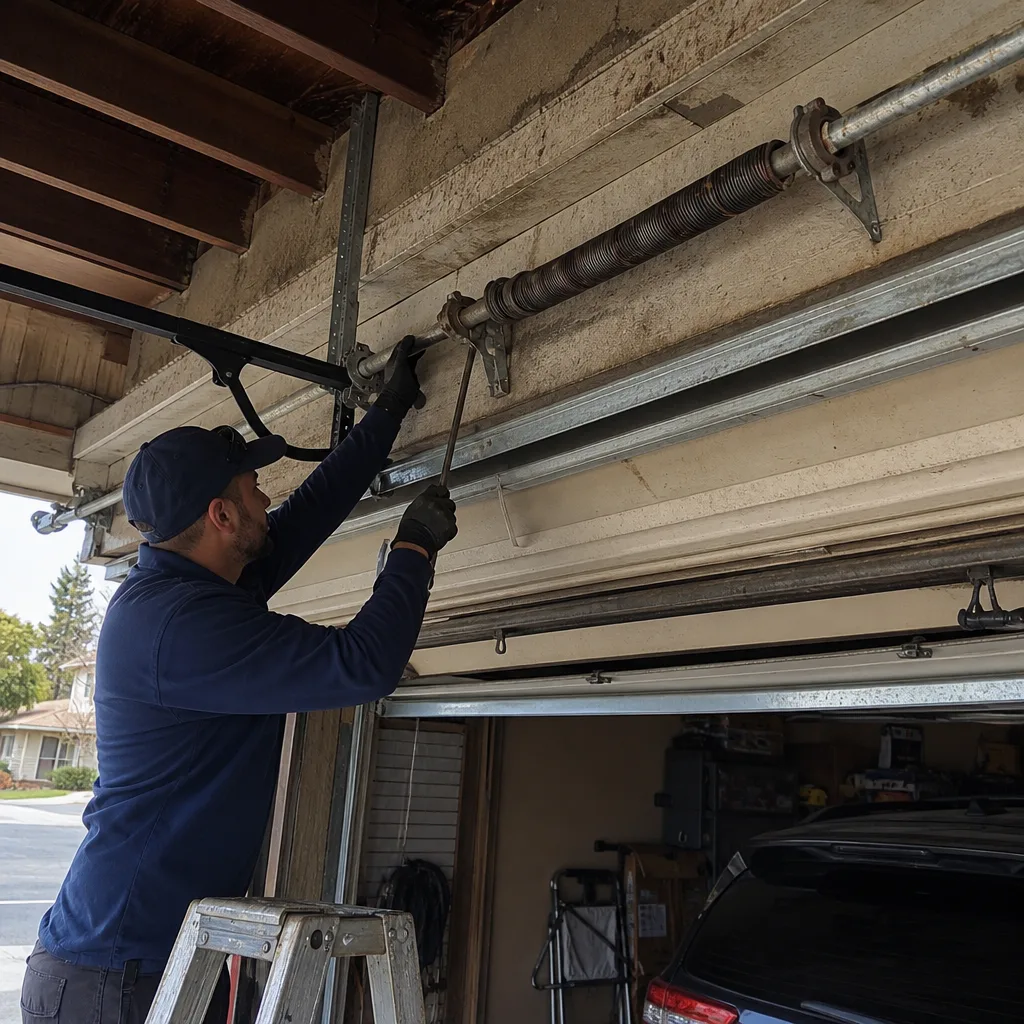 Before
 After
AfterGarage Door Repair Maintenance Checklist for Santa Clarita Homeowners
Most garage door maintenance checklists tell you to lubricate the moving parts. Almost none tell you that greasing the wrong component – a nylon roller, for instance – attracts the exact grit that Santa Clarita’s dry wind carries, turning a smooth bearing into sandpaper inside eighteen months. This guide is different. It pairs every inspection point with the specific failure it prevents and the dollar range that failure costs in the Santa Clarita market, so you know what a “failing reading” actually means when you see one.
Quick Answer
A garage door maintenance checklist for Santa Clarita homeowners – see our Garage Door Warning Signs: A Santa Clarita Homeowner’s Reference Guide for related issues – should cover monthly visual inspections of rollers, cables, and tracks; quarterly lubrication with the correct product per component; and an annual balance test, spring inspection, and photo-documented record of everything found. In Santa Clarita’s dust-heavy, high-heat climate, inspection frequency should double from the national “once a year” standard to twice a year, with lubrication checks every 60 to 90 days during the dry season.
Table of Contents
- Owner-Safe Tasks vs. Technician-Only Tasks: Where the Line Is, and Why
- The Santa Clarita Climate Factor: Why National Advice Falls Short
- Lubrication by Component: Lithium Grease, Silicone Spray, or Nothing
- The Three-Minute Balance Test: Pass/Fail Criteria You Can Measure
- The Monthly Visual Inspection: What You’re Looking For, and What It Means
- The Record-Keeping Table: Why Your Maintenance Log Is Documentation
- The Cost of Skipping Maintenance: Santa Clarita Price Ranges
- Common Mistakes to Avoid
- When to Call a Professional
- Frequently Asked Questions
BeforeAfterOwner-Safe Tasks vs. Technician-Only Tasks: Where the Line Is, and Why
Every garage door maintenance checklist worth its salt has two columns. The first column contains tasks a homeowner can perform safely with basic tools and a step ladder. The second column contains tasks that require a trained technician – and the line between them is not a liability disclaimer. It’s a physics problem.
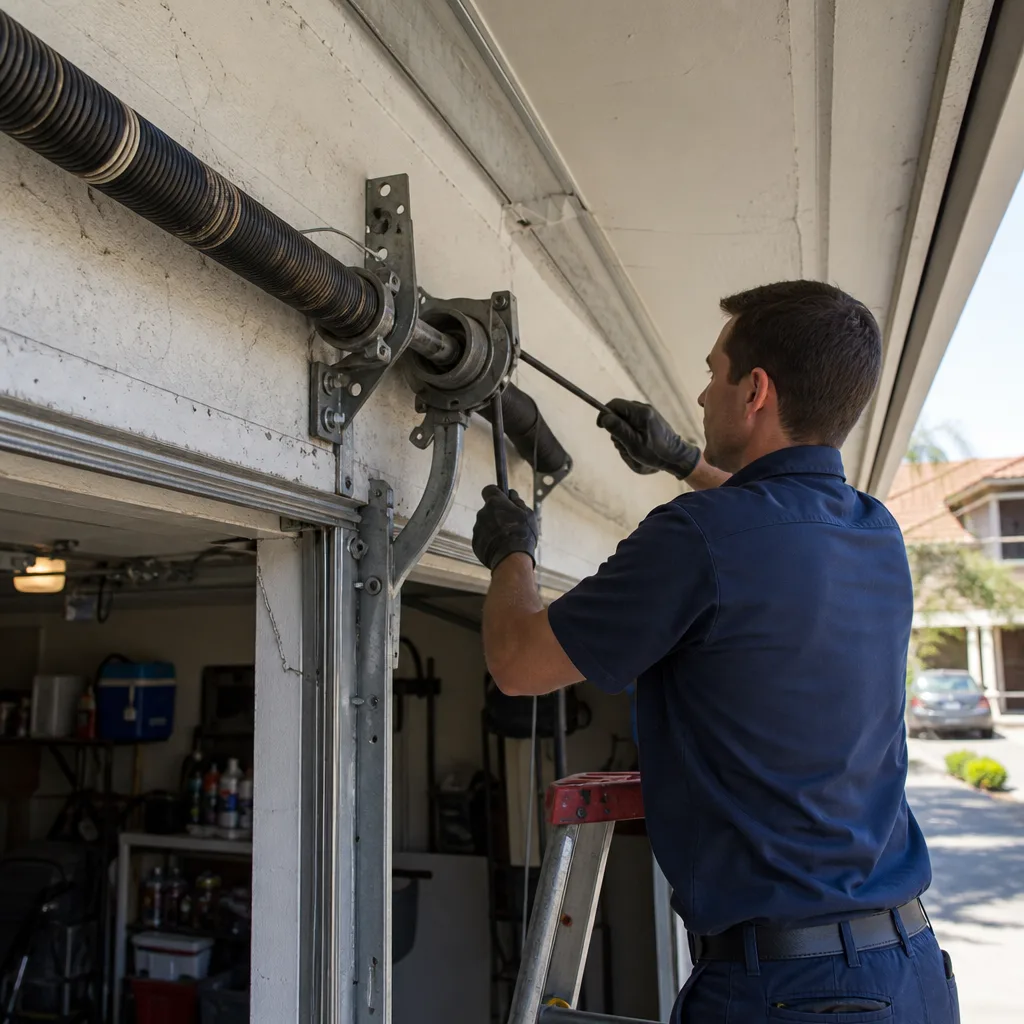
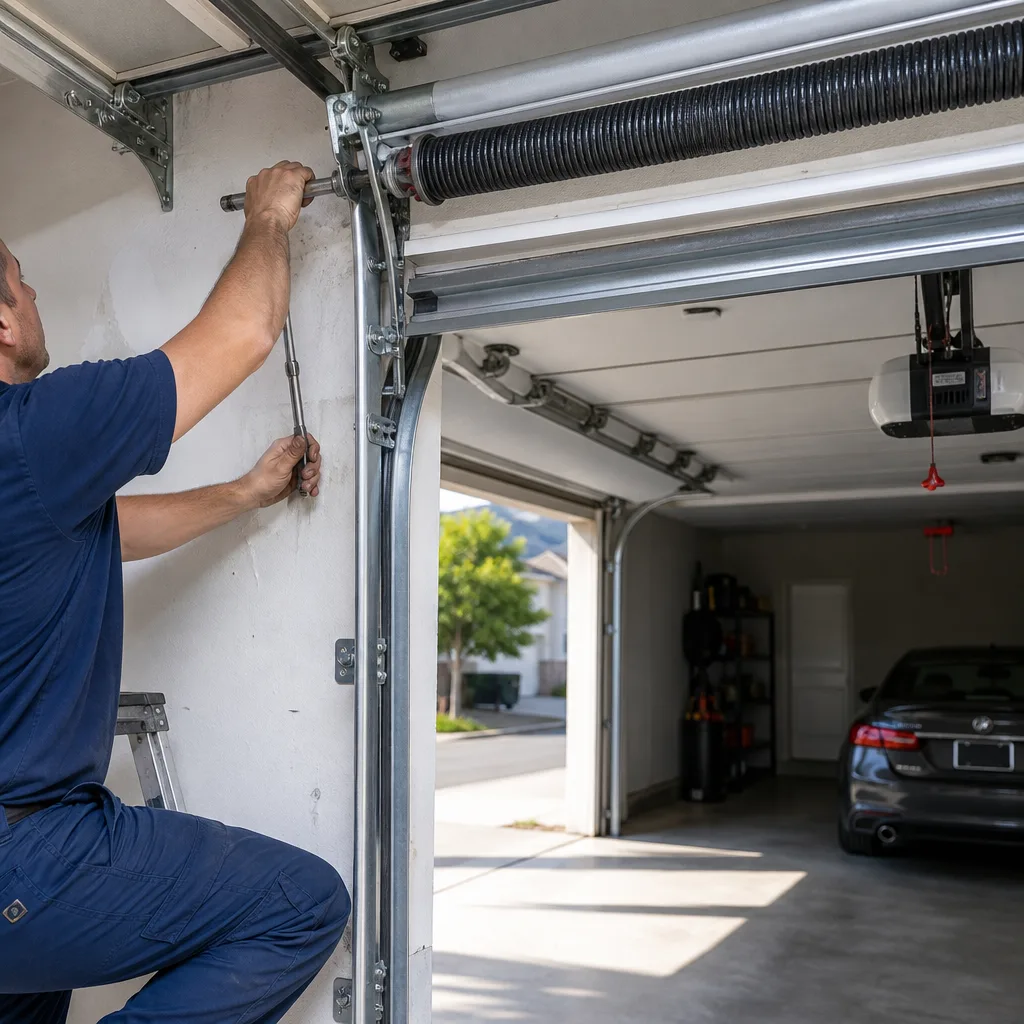
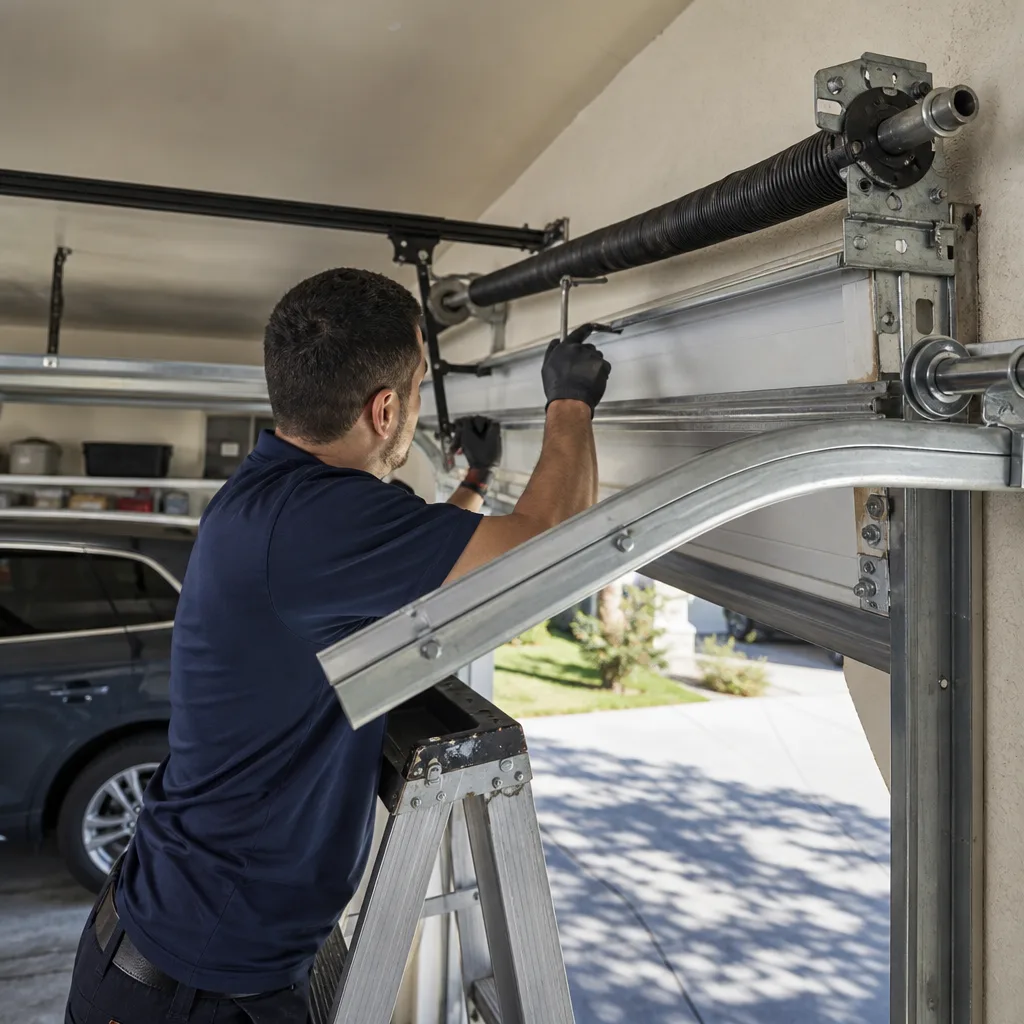
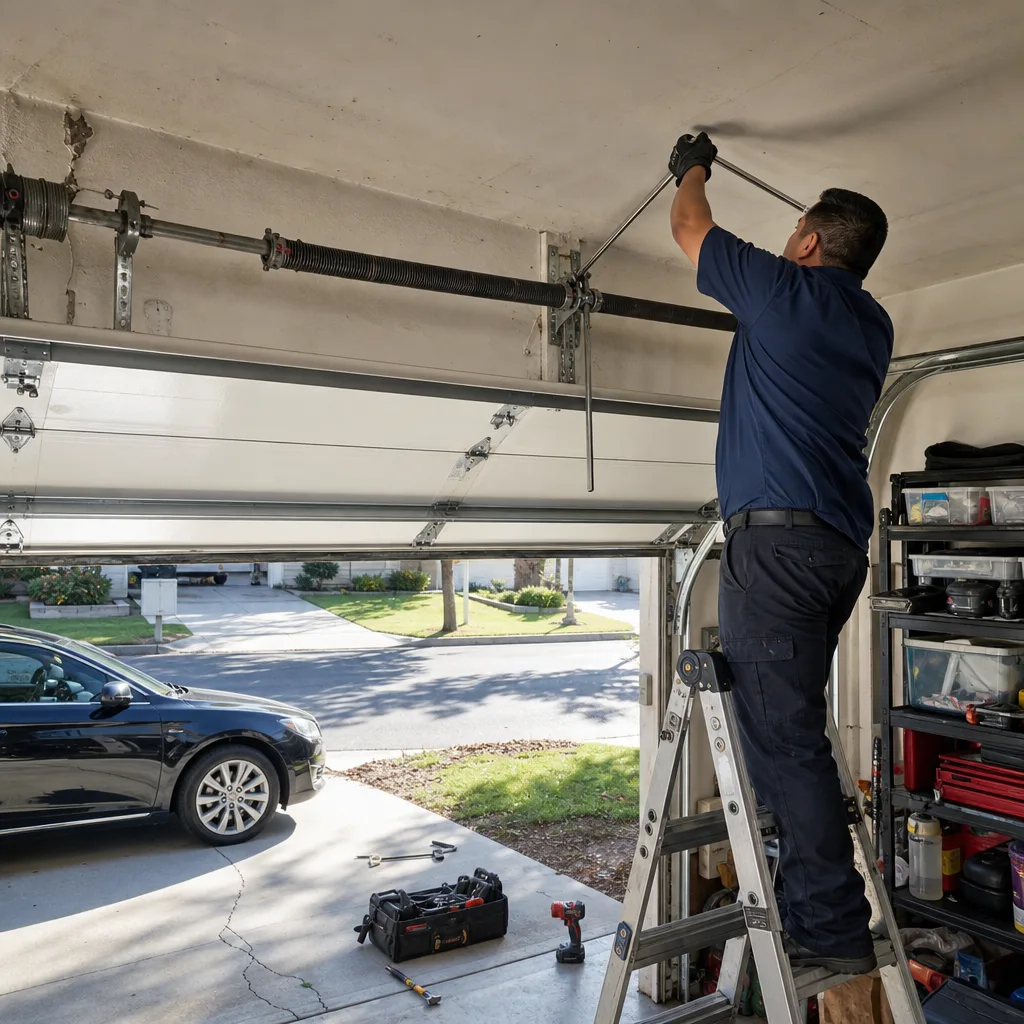
A torsion spring – the coil of steel mounted above the closed door that does most of the lifting – stores enough energy to lift a 150 to 250 pound door hundreds of times. When that spring snaps, it releases all of that tension at once. In our experience, the homeowner accounts we see the most grateful for a phone call are the ones who noticed a cracked spring, read How to Hire a Garage Door Contractor in Santa Clarita: A Step-by-Step Guide, and called us instead. That was the right call.
Owner-Safe Tasks
- Monthly visual inspection of rollers, cables, tracks, hinges, and mounting brackets
- Quarterly lubrication of steel rollers, hinges, and bearing plates with the correct product (see the lubrication section below)
- Manual release test: pull the red emergency release cord with the door closed, then lift the door by hand to check its weight and travel
- Balance test (detailed procedure in the section below)
- Tightening visible hinge and bracket bolts with a socket wrench
- Clearing debris from the bottom track channels and photo-eye lenses
- Documenting everything with photos and a written log entry
Technician-Only Tasks
- Anything involving a torsion spring: adjustment, replacement, or “just adding a turn”
- Cable inspection and replacement – cables carry spring tension and can sever fingers if they snap while under load
- Track alignment and re-pitching, which requires a level and specific clearance measurements
- Opener force-setting adjustments and logic board diagnostics
- Any repair involving the bottom bracket, which is under constant cable tension
- Drilling into a garage door panel, whether for a strut or a window frame
The reason spring work belongs in the second column is simple: a torsion spring under tension can deliver the same force as a small car crash concentrated into a two-inch coil. The Haven Standard, which governs how Servo Garage Doors Santa Clarita home operates, codifies this in Clause 4: the technician photographs the failed component before quoting a replacement. That photograph exists so the homeowner sees the evidence of what failed, not a sales pitch about what might be wrong. It also keeps the conversation honest about what actually requires replacement versus what merely needs adjustment.
The Santa Clarita Climate Factor: Why National Advice Falls Short
Most garage door maintenance guides are written for the national average: moderate humidity, four seasons, occasional rain. Santa Clarita does not do moderate. We get 270-plus days of sun, single-digit humidity in the fall, and a wind pattern that pushes fine dust through every gap in a garage door’s weatherstripping. That dust is not cosmetic – it’s abrasive.
Here’s what the Santa Clarita climate does to a garage door, component by component.
Dust and the Roller Bearing
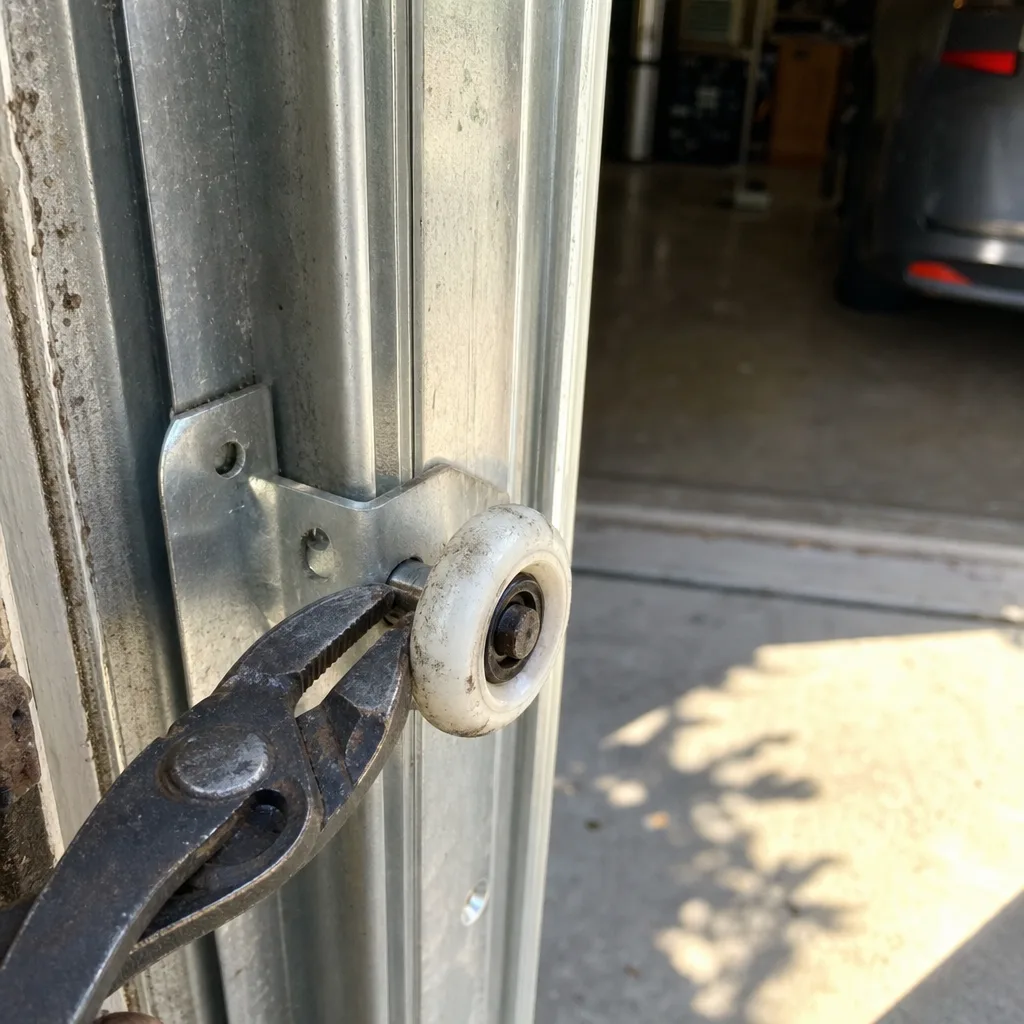
A roller bearing is a sealed or semi-sealed unit with small steel balls or nylon bearings inside a housing. Dust particles in the 10-micron range fit through the housing gap and embed themselves in the bearing grease. Over time, that grease becomes a lapping compound. The roller doesn’t just wear – it develops flat spots, which cause the door to thump and chatter as it moves. In Valencia and Stevenson Ranch, where wind-blown dust is heaviest in the afternoons, we recommend inspecting rollers for flat spots every 60 days during the dry season, not annually.
Heat and the Spring Rate
Torsion springs are rated for a cycle life – typically 10,000 cycles for a standard spring. But that rating assumes a certain operating temperature. Santa Clarita summers push garage temperatures well past 110 degrees Fahrenheit. Heat does two things to a spring: it accelerates the fatigue rate at the coil, and it causes the metal to expand slightly, which changes the door’s balance point. A door that balances perfectly at 70 degrees may sit slightly heavy at 105 degrees, which means the spring is working harder on every cycle. That’s not a reason to adjust the spring – it’s a reason to test balance more frequently in summer.
UV and the Weatherstripping
The rubber bottom seal and the vinyl weatherstrip on the side jambs both degrade faster under Santa Clarita’s UV index. Cracked weatherstripping lets dust in, sure – but it also lets conditioned air out and garage heat in, which raises the temperature around everything stored in the garage, including the door’s moving parts. A $18 bottom seal replaced every 24 to 36 months is cheaper than the accelerated spring fatigue it prevents.
The practical takeaway: if you follow the national “once a year” maintenance standard in Santa Clarita, you’re running about six months behind the wear curve. Twice a year – once in late spring before the heat peaks, once in late fall before the Santa Ana season – is the minimum for this market.
Lubrication by Component: Lithium Grease, Silicone Spray, or Nothing
Here is the sentence no printable checklist online seems to include: the correct lubricant is not one product. It’s three, and one of them is “none.” Lubricating everything that moves is how you get a garage door that moves worse than before you touched it.
The Breakdown, Component by Component
- Steel rollers with ball bearings: White lithium grease, applied to the bearing, not the wheel surface. A small dab on each bearing, wiped clean, is enough. Over-lubricating attracts dust.
- Nylon rollers: Nothing. Nylon rollers are self-lubricating and a grease film makes them sticky. That stickiness captures sand and dust from Santa Clarita’s dry air, which then grinds against the nylon itself. This is the single most common lubrication mistake we see on service calls in Newhall and Canyon Country.
- Hinges (the metal plates between door panels): Silicone spray, not lithium. Silicone penetrates the pin joint without leaving a heavy film, and it doesn’t break down rubber or plastic bushings the way a petroleum product can.
- Torsion spring: A light coat of lithium or silicone spray on the coil itself. This is for corrosion protection, not friction reduction. The spring doesn’t slide against anything – it winds and unwinds. Wipe off the excess so dust doesn’t cake on it.
- Tracks (the vertical and horizontal rails): Nothing. Tracks are not a friction surface. The rollers move inside the track on their bearings, not by sliding against the track wall. Grease on the track does nothing but collect dirt and leave streaks on the side of your door.
- Opener chain or screw: Chain drives: a light machine oil or the manufacturer’s recommended chain lube. Screw drives: the grease specified by the opener manufacturer, typically a white lithium formulation. Belt drives: nothing – the belt is rubber, and lubricant degrades it.
If you’re unsure what type of rollers you have, steel rollers are dull gray and cold to the touch; nylon rollers are white or off-white with a smooth plastic wheel surface. The quick test: if you can see glints of metal on the wheel, it’s steel. If it looks like a white doughnut, it’s nylon – and you leave it alone.
The Three-Minute Balance Test: Pass/Fail Criteria You Can Measure
A garage door that’s properly balanced will stay in place when you stop it halfway. A door that’s out of balance will creep up, or creep down – and either way, the opener motor is working against the door’s weight on every cycle. That’s how openers die early.
Here’s the procedure, step by step. You need a step ladder if your release handle hangs above reach, and that’s it.
- Close the door completely.
- Pull the red emergency release cord. The door is now disconnected from the opener rail and moves manually.
- Lift the door by its handle or bottom edge until it’s roughly waist height – about three feet off the ground.
- Let go. Do not guide it. Just let go.
Pass criteria: The door stays within roughly six inches of where you let go. It may drift slightly up or down, but it should not continue moving. A properly balanced door will feel almost weightless at this midpoint – you’re lifting about 10 to 15 pounds of effort, not 150.
Fail criteria, door drops: The door falls past the halfway mark and continues toward the floor, or you need real muscle to hold it in place. This means the spring has lost tension or is nearing the end of its cycle life. The failure cost in Santa Clarita, for a standard single-spring setup on a 16×7 door, typically runs $180 to $340 for a replacement spring including labor. A door this far out of balance is hard on the opener, and the opener will be the next thing to go.
Fail criteria, door rises: The door climbs on its own, or takes almost no effort to lift and then overshoots. This is the less common failure and usually means the spring is rated too heavy for the door, or a previous owner installed a spring set for a heavier door. The fix is a spring replacement to the correct spec, and the cost is the same range as above: $180 to $340 in this market.
One note from the service side: a door that’s mildly out of balance – one that drifts, but slowly – doesn’t need an emergency call. But it does need a call sooner than later, because the uneven load transfers to the opener’s gear and sprocket, and that replacement cost starts at $200 and climbs fast. The balance test is the cheapest diagnostic you’ll ever run – it’s free, and it tells you more than any noise or symptom.
The Monthly Visual Inspection: What You’re Looking For, and What It Means
The monthly inspection is the workhorse of this checklist. It takes ten minutes, requires no tools beyond a flashlight, and catches most failures before they become a same-day emergency. Here is the complete list, in the order you should walk around the door.
- Cables – the steel wires running up each side of the door. Look for fraying, rust, or any strand separation. A cable with visible fraying is a cable that’s already failing. Cable replacement is a technician-only task; the cable carries full spring tension. Call before it snaps.
- Rollers – the wheels inside the track. Look for cracks in nylon rollers, flat spots on steel wheels, or a wheel that doesn’t spin when the door moves. A roller that’s seized and sliding against the track instead of rolling is grinding the track thinner every cycle.
- Hinges – the metal plates connecting panels. Look for cracks radiating from the center pin hole, or any visible gap between the hinge plate and the panel. A cracked hinge will fail completely, usually when the door is halfway up, and that failure bends the adjacent panel – a much bigger repair than the hinge itself.
- Spring – the coil above the door. Look for a gap in the coil, which indicates a clean break, or rust along the coil surface, which weakens the steel. A broken spring is not a “later” item. The door won’t open at all with a broken torsion spring, and trying to force it damages the opener.
- Track bolts and brackets – every bolt where the track meets the wall or ceiling. Tighten any loose bolt with a socket wrench. A loose track shifts alignment under load, and a door that’s binding against the track wears out rollers twice as fast.
- Photo-eye sensors – the small units at knee height on either side of the door opening. Look for dust on the lenses, which is a constant issue during Santa Clarita’s dry months, and verify the small indicator lights are on. A dirty photo eye is the most common cause of “door closes halfway and reverses.”
- Bottom seal – the rubber gasket along the door’s bottom edge. Look for cracks, splits, or gaps where daylight shows through. Replace when cracked, which in this market often means every two to three years.
Document what you find. A quick phone photo of each component, even when everything looks fine, creates a baseline. Six months later, you compare against the baseline instead of trying to remember whether that rust spot was there before.
The Record-Keeping Table: Why Your Maintenance Log Is Documentation
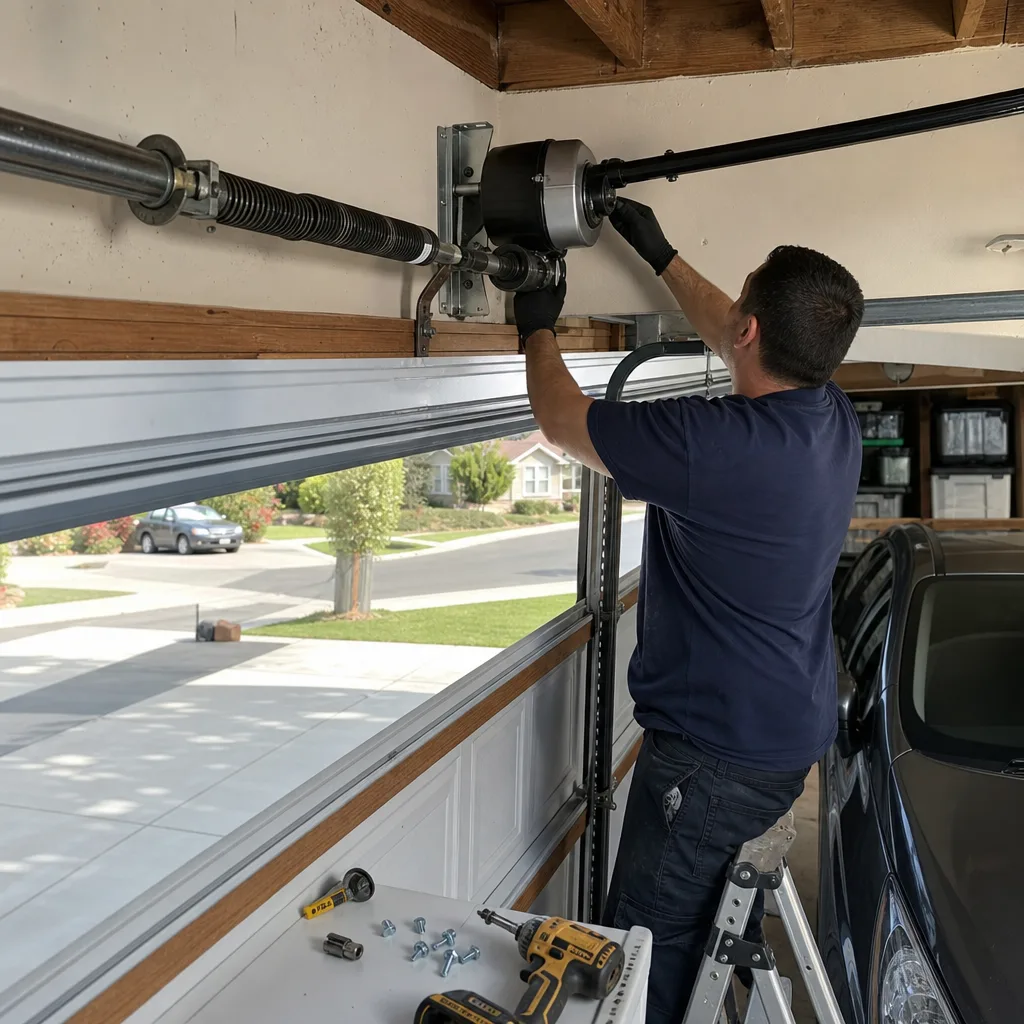
A maintenance log is not a chore. It’s the difference between “I think we had the spring replaced a few years ago” and “the spring was replaced in March 2023, here’s the invoice and the photo record.” In a warranty claim, an insurance dispute, or even a resale disclosure, that difference matters.
Here’s a structure that works, modeled after the documentation standard we follow at Garage Door Repair in Santa Clarita – every visit, whether maintenance or emergency, closes with a written record of what was found and what was done.
| Date | Component Inspected | Finding | Action Taken | Lubrication Applied | Photo Taken |
|---|---|---|---|---|---|
| MM/DD/YYYY | Rollers / Cables / Tracks / Spring / Hinges / Seal / Photo Eyes | Normal / Worn / Damaged / Loose | None / Tightened / Lubricated / Replaced / Called Pro | Lithium / Silicone / None | Yes / No |
Print this table, tape it to the inside of the garage door frame, and log every inspection. A year of entries is more persuasive to an insurance adjuster or a home inspector than any verbal history. The same principle applies to professional service records: keep the invoice, keep the photo record, and staple them to the log. That paper trail is what protects you if a part fails under warranty and the manufacturer asks for maintenance history.
The Cost of Skipping Maintenance: Santa Clarita Price Ranges
Every skipped inspection has a price attached. Here are the common failures in the Santa Clarita market, with what they cost to fix versus what the preventive step costs.
| Failure | Preventive Step | Preventive Cost | Failure Cost (Santa Clarita Market) |
|---|---|---|---|
| Seized roller flat-spots track | Monthly roller check + correct lubrication | $0 (DIY) or included in a service visit | $120-$200 (roller set replacement) up to $300+ if track damage |
| Broken torsion spring | Annual spring inspection for rust and cycle wear | $0 (visual) or $80-$120 (inspection visit) | $180-$340 (single spring replacement) |
| Frayed cable snap | Monthly cable inspection | $0 (visual) | $150-$250 (cable replacement) plus potential panel damage |
| Opener gear failure from heavy door | Quarterly balance test | $0 (DIY) | $200-$450 (gear and sprocket replacement) |
| Bent panel from hinge failure | Monthly hinge inspection | $0 (visual) | $250-$600 (panel straightening or replacement) |
| Photo eye misalignment from loose track | Monthly bolt check | $0 (socket wrench) | $100-$180 (service call to realign and re-tighten) |
These are market ranges for the Santa Clarita Valley, not national averages. Costs vary by door size, spring type, and access, but the pattern is consistent: the preventive step costs nothing or nearly nothing, and the failure cost starts at a hundred dollars and climbs. If you’re looking at Garage Door Installation in Santa Clarita prices as a replacement option, a well-maintained door will extend that decision window by years.
Common Mistakes to Avoid
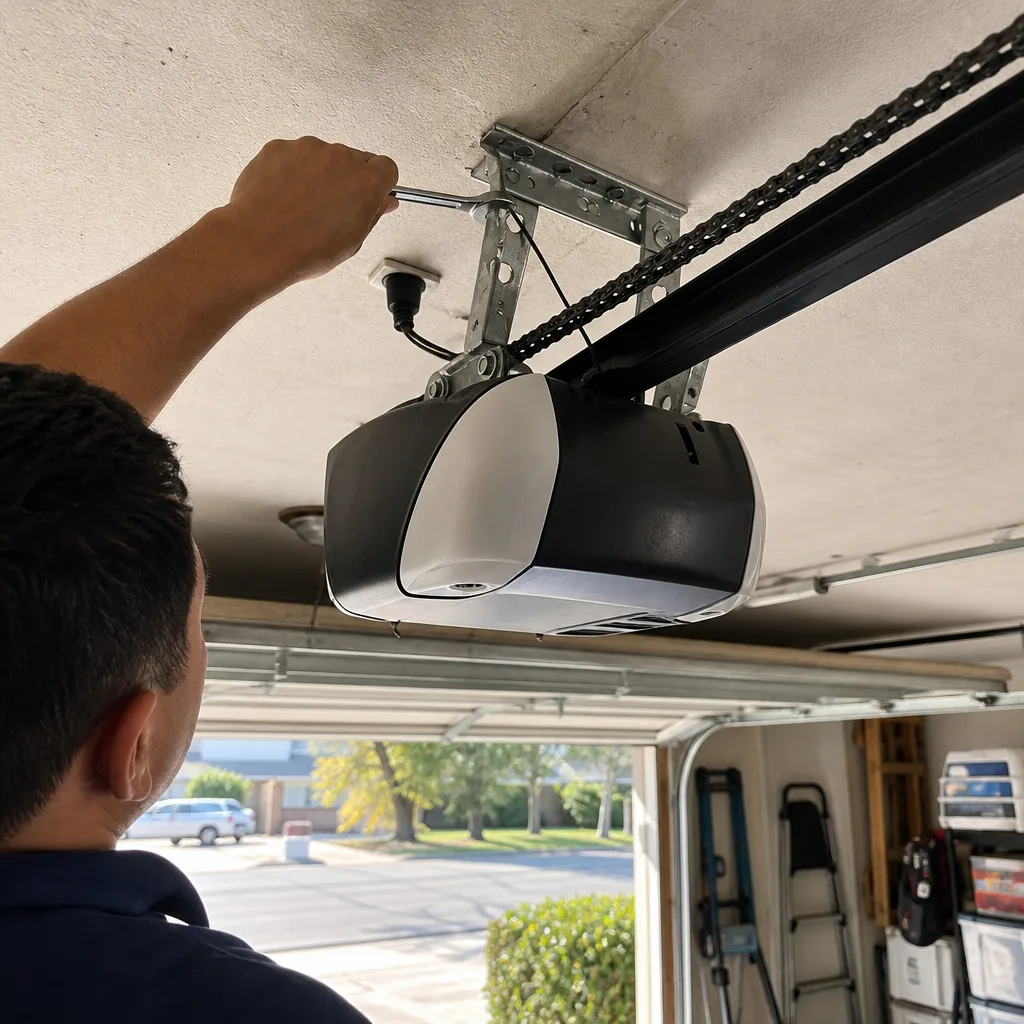
- Greasing nylon rollers. Nylon is self-lubricating; a grease film attracts grit and shortens the roller’s life. This is the most common error we correct on service calls in the Santa Clarita Valley.
- Lubricating the tracks. Tracks are not a friction surface. Grease in the track collects dust and leaves permanent black streaks on the door edge and walls.
- Adjusting a torsion spring without the correct winding bars. The spring stores lethal tension. A screwdriver or a pair of vice grips is not a winding bar, and the result of using one is a very fast, very dangerous failure. This is a technician-only job, without exception.
- Testing the balance test with the door still connected to the opener. The opener’s rail and carriage interfere with the door’s natural movement, which makes the test meaningless. Pull the release cord first, every time.
- Replacing only one spring. Springs are rated for cycle life, and if one has failed, the other is at or near its cycle limit. Replacing one spring saves a hundred dollars now and sets up the second spring to fail within months. We recommend replacing both when either fails.
- Skipping the photo documentation. A written log entry helps; a photo record is evidence. Insurance and warranty claims move faster with photos.
- Waiting until the next “annual” check. In Santa Clarita’s climate, a year is too long. Twice-yearly is the floor; during a wind-heavy fall, more frequent dust checks are warranted.
When to Call a Professional
Some findings from this checklist end with a wrench, not a phone call. Others need a technician. Call if you see a gap in the torsion spring coil, frayed or rusted cables, a panel that’s visibly separating from the hinge line, or a door that fails the balance test by more than a few inches. Any of these mean the door is under unsafe tension, or about to be. The visual inspection catches them – and then the professional handles the Garage Door Repair services. Servo Garage Doors Santa Clarita offers free estimates in Santa Clarita – call (661) 542-4007. A written price and written scope arrive before any work starts, and the photo record documents what was found and what was fixed. If you’ve got a competing written estimate, bring it in for a free second opinion.
Frequently Asked Questions
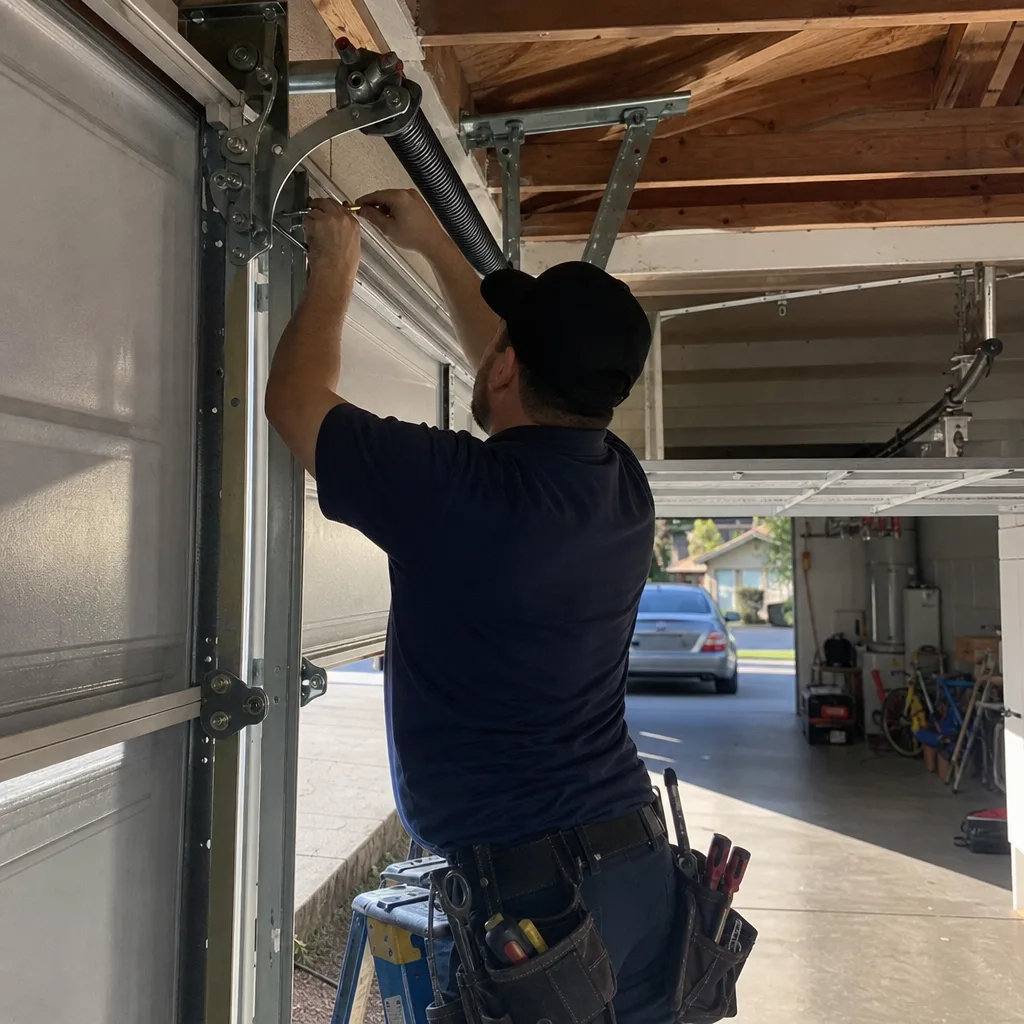
Every 60 to 90 days during the dry season, and at least twice a year overall. Santa Clarita’s dust load is the limiting factor – lubrication that’s left to accumulate dust turns into abrasive paste, so more frequent, lighter applications beat a single heavy annual coat. Use lithium grease on steel roller bearings, silicone spray on hinges, and nothing on nylon rollers or tracks. Call (661) 542-4007 if you want a written lubrication schedule for your specific door setup.
For steel roller bearings and springs in a hot climate like Santa Clarita’s, a white lithium grease with a high temperature rating works best. Silicone spray is the right choice for hinge pins and torsion springs where a lighter film is preferable. Avoid WD-40 for any garage door component – it’s a solvent and degreaser, not a long-term lubricant, and it strips whatever protective film was already there.
You should not. Torsion springs store enough stored energy to cause serious injury or death if released incorrectly, and the specialized winding bars required are not standard household tools. The spring is the one component on this entire checklist where the cost of a professional repair – typically $180 to $340 in the Santa Clarita market – is the price of not finding out what that spring feels like when it lets go.
A full inspection and tune-up in the Santa Clarita market typically runs $80 to $130 for a standard two-car door, including lubrication, bolt tightening, balance testing, and a written record of findings. The cost is lower than almost every repair it prevents. Call (661) 542-4007 for a flat, written price before any work begins.
Signs include the door reversing for no reason, grinding noises from the gear, or intermittent operation. If the opener is more than 12 years old, or if the repair estimate approaches half the cost of a new unit, replacement is the practical choice. Garage Door Opener Repair & Installation in Santa Clarita starts with a diagnosis and a written price, so you can see the numbers before deciding.
Uneven movement usually points to a balance problem, a worn or seized roller, or a track that’s out of alignment. Run the three-minute balance test described above – if the door drops or rises when you let go at the halfway point, the spring needs attention. If the balance is fine but the door shakes, inspect the rollers for flat spots and the track bolts for looseness. Most uneven movement problems have a specific, locatable cause.
A door that won’t close and leaves the garage – and often the house – unsecured is an emergency. A door that won’t open with a car trapped inside is an emergency if you need that car. A broken spring or snapped cable is an emergency when it prevents the door from being secured. Live help at (661) 542-4007 is available around the clock, including holidays, and emergency calls are answered by a person, not a recording.
The Bottom Line
A garage door maintenance checklist is not a chore list – it’s a diagnostic instrument. The balance test tells you when the spring is dying. The roller inspection tells you when the track is wearing. The lubrication schedule, if you follow the component-specific instructions rather than a blanket “lube everything,” adds years to the parts that cost the most to replace. In Santa Clarita’s heat and dust, twice-yearly checks are the realistic minimum, and a written log with photos turns every inspection into documentation you can produce when it matters. The cost of the checklist is roughly ten minutes a month. The cost of skipping it is in the table above.
Written by Marcus Deller, Owner at Servo Garage Doors Santa Clarita, serving Santa Clarita since 2015.